

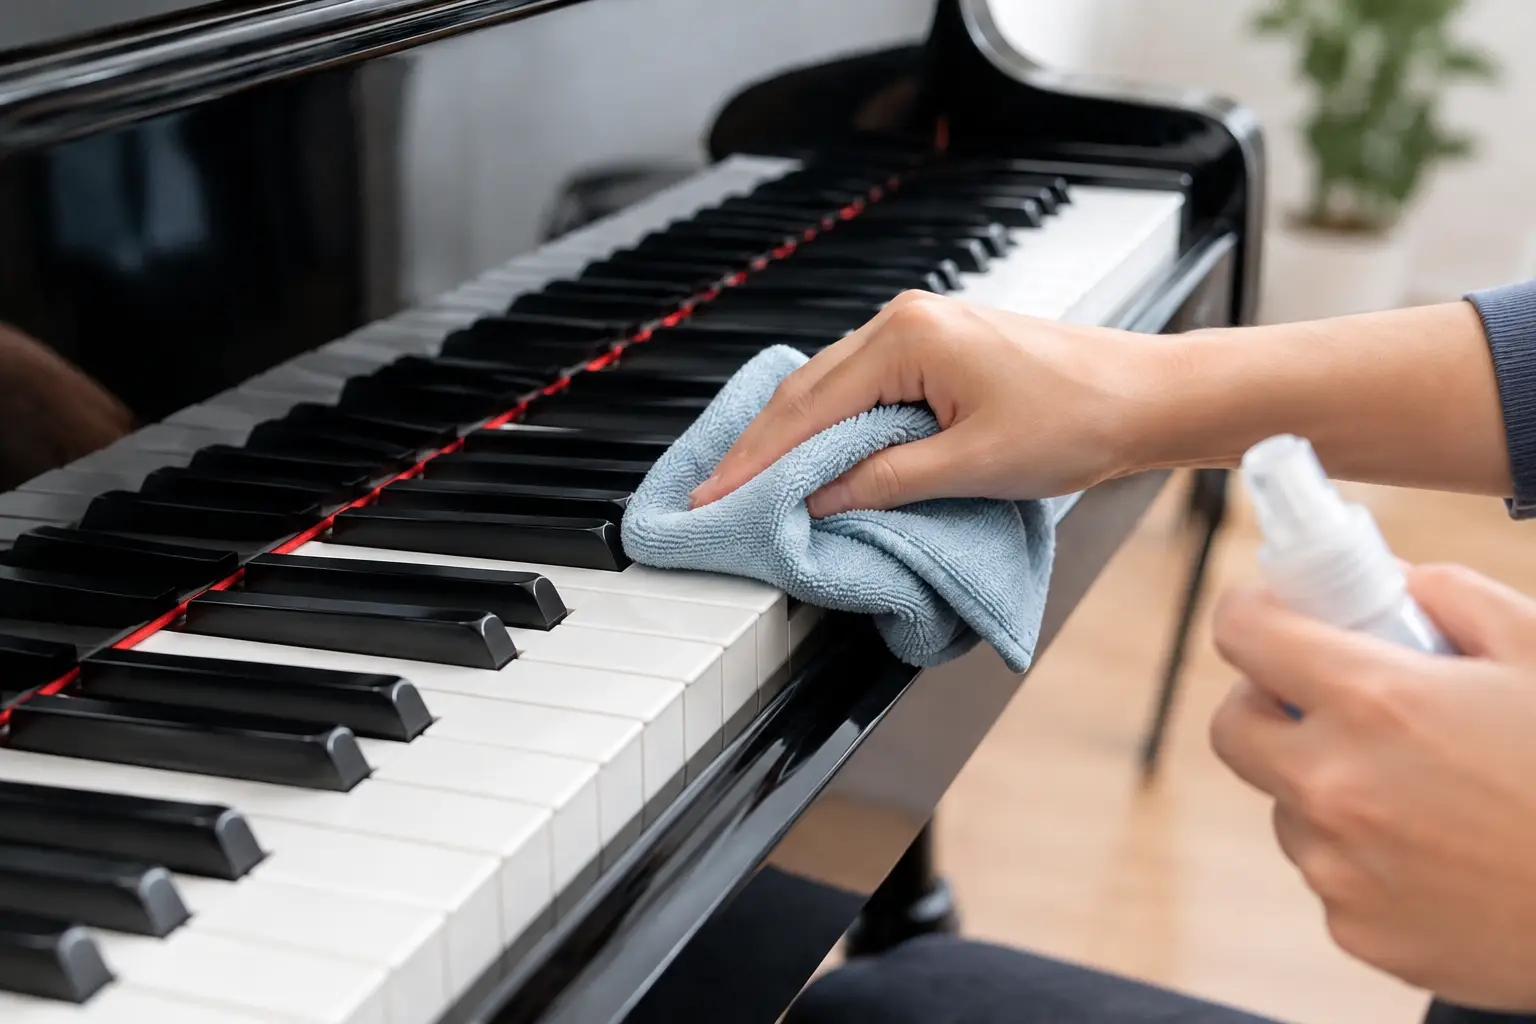
A piano’s keys are where music becomes physical. They collect fingerprints, skin oils, dust, and the occasional trace of a snack or household cleaner, especially on a well-loved family instrument. Knowing how to clean piano keys correctly keeps the keyboard inviting to play while protecting materials that may be far more delicate than they appear.
The safe method depends on what your keys are made of. Most modern pianos have plastic keytops, while many older and vintage instruments have ivory naturals and ebony sharps. These surfaces do not respond the same way to moisture, cleaners, or sunlight. When in doubt, start gently. A bright-looking keyboard is never worth damaged keytops, loosened glue, or moisture entering the action.
Before You Clean Piano Keys, Identify the Material
Modern plastic keys are generally smooth, uniform in color, and easy to maintain. They may have a glossy or satin finish, depending on the piano. Ivory keys, found on many pre-mid-century acoustic pianos, usually have a faint grain or crosshatch pattern and are made from two separate pieces joined across the keytop. Ebony sharps are often wood with a dark finish rather than black plastic.
If you are not sure what you have, do not use whitening products, abrasive pads, or strong cleaners. This matters particularly with a vintage Steinway, an heirloom upright, or any piano with visible age. Ivory can dry, crack, yellow unevenly, or lift from the wooden key beneath it. Ebony can lose its finish if it is scrubbed too aggressively.
It is also wise to look at the condition of the keys before beginning. Loose keytops, cracks, chipped edges, deep stains, or keys that sit unevenly call for professional assessment rather than a more forceful cleaning attempt.
How to Clean Piano Keys Safely
Begin with clean hands and a piano that is closed to pets, children, and airborne dust while you work. Avoid spraying anything directly onto the keyboard. Liquid can travel down the gaps between keys, where it may affect felts, wood, key bushings, and the action below.
For routine cleaning, gather a few simple supplies:
- Two soft, white microfiber cloths
- A small bowl of clean water
- Mild, clear dish soap
- Cotton swabs for tight edges
- A dry towel
Dampen one cloth with water and wring it out thoroughly. It should feel barely damp, never wet. Wipe a small group of keys from back to front, rather than across the spaces between them. This direction helps prevent moisture from being pushed into the keyboard.
For ordinary grime on plastic keys, add a single drop of mild clear dish soap to the water, then wring out the cloth again. Wipe gently, using light pressure. Follow immediately with a second cloth dampened only with clean water to remove soap residue, then dry the keys with a soft towel. Work in sections so no moisture sits on the surface for long.
Take care around the front edges and between keys. A barely damp cotton swab can lift dirt from narrow areas, but it should not be wet enough to leave moisture behind. Never pour water into the keybed, and never use a dripping cloth.
Cleaning Plastic Keytops
Plastic keys are the most forgiving, but they can still become dull or discolored if treated with harsh products. A lightly damp microfiber cloth is usually enough for weekly or monthly care. Mild soap is reserved for visible oils or sticky residue.
Do not use bleach, alcohol, ammonia, glass cleaner, disinfecting wipes, furniture polish, acetone, or powdered cleaners. Even products that seem gentle can leave a film, alter the finish, or dry surrounding materials. Avoid paper towels as well. Their fibers can be surprisingly abrasive on high-gloss surfaces over time.
If a plastic key has a persistent yellow cast, resist the urge to whiten it with chemical treatments. Yellowing may be caused by age, heat, light exposure, or the composition of the material itself. An experienced technician can advise whether cosmetic work is appropriate, particularly on a valuable instrument.
Cleaning Ivory Piano Keys
Ivory deserves a more conservative approach. Use a soft cloth that is only slightly dampened with clean water. Wipe each key gently, then dry it immediately. For light surface soil, this is generally the safest home method.
Do not soak ivory, use whitening toothpaste, scrub with baking soda, or apply household whitening agents. These popular shortcuts can scratch the surface, dry the ivory, create uneven color, or weaken the adhesive holding each ivory head in place. Direct sunlight is not a safe whitening solution either. It can dry the material and may make uneven discoloration more noticeable.
Some older ivory keyboards have natural variations in tone, small hairline cracks, or a warm patina. Those marks are part of an instrument’s age and history. On a restored or collectible piano, preserving stable original ivory may be more desirable than pursuing a uniform white appearance.
Cleaning Ebony Sharps and Black Keys
Black keys need minimal moisture and no polish. Wipe them with a dry microfiber cloth first. If fingerprints remain, use a barely damp cloth, then dry immediately. For ebony sharps with a worn or faded finish, household oils and furniture products are not the answer. They can leave a slippery residue and complicate later restoration.
A technician can properly assess ebony that has become rough, chipped, loose, or gray in appearance. Repair may involve careful finishing work or replacement, depending on the piano’s age and value.
What to Avoid When Cleaning a Piano Keyboard
The most common damage comes from using too much liquid or trying to make old keytops look brand new. A piano keyboard is connected to a precise mechanical system, and it is not designed for wet cleaning. Even a small amount of moisture in the wrong place can lead to sticking keys, swelling wood, corrosion, or changes in touch.
Be cautious with antibacterial wipes and hand sanitizers. They are convenient for many household surfaces, but their alcohol, fragrance, and additives may not suit piano finishes or key materials. The same applies to commercial keyboard-cleaning sprays unless they are specifically recommended for pianos and used sparingly on a cloth rather than the keys themselves.
It is also best not to use vacuum attachments directly on the keyboard. A soft brush may be used lightly around the exterior, but a vacuum nozzle can scratch keytops or catch loose felt and trim.
Keep Keys Cleaner Between Deep Cleanings
The simplest protection is a consistent playing routine. Encourage everyone to wash and dry their hands before playing, especially after eating, applying lotion, or using hair products. Close the fallboard when the piano is not in use, provided it does not rest on objects or trap moisture.
A quick dry microfiber wipe once a week is often enough for an actively played piano. For a household piano, a more thorough damp-cloth cleaning every month or two is usually sufficient. Studios, schools, and shared instruments may need more frequent attention, but the same rule applies: clean lightly, dry promptly, and avoid strong chemicals.
Climate control also protects the keyboard. Sudden shifts in humidity can affect wood parts, key bushings, glue joints, and ivory. Keep the piano away from direct sun, heating vents, exterior doors, and damp areas whenever possible. Regular tuning and service give a technician an opportunity to spot keytop concerns before they become larger repairs.
When Professional Piano Care Is the Better Choice
Call a piano technician if keys are sticking, clicking, loose, cracked, severely stained, or uneven. These problems may look cosmetic but can point to issues beneath the visible key surface. Professional service is especially worthwhile for antique pianos, premium grands, and instruments with original ivory or ebony components.
At A440 Pianos, we see that careful maintenance protects not only a piano’s appearance but also the pleasure of sitting down to play it. A gently cleaned keyboard, a stable home environment, and timely technical care allow your instrument to feel as good under the hands as it sounds in the room.



0 Comments