

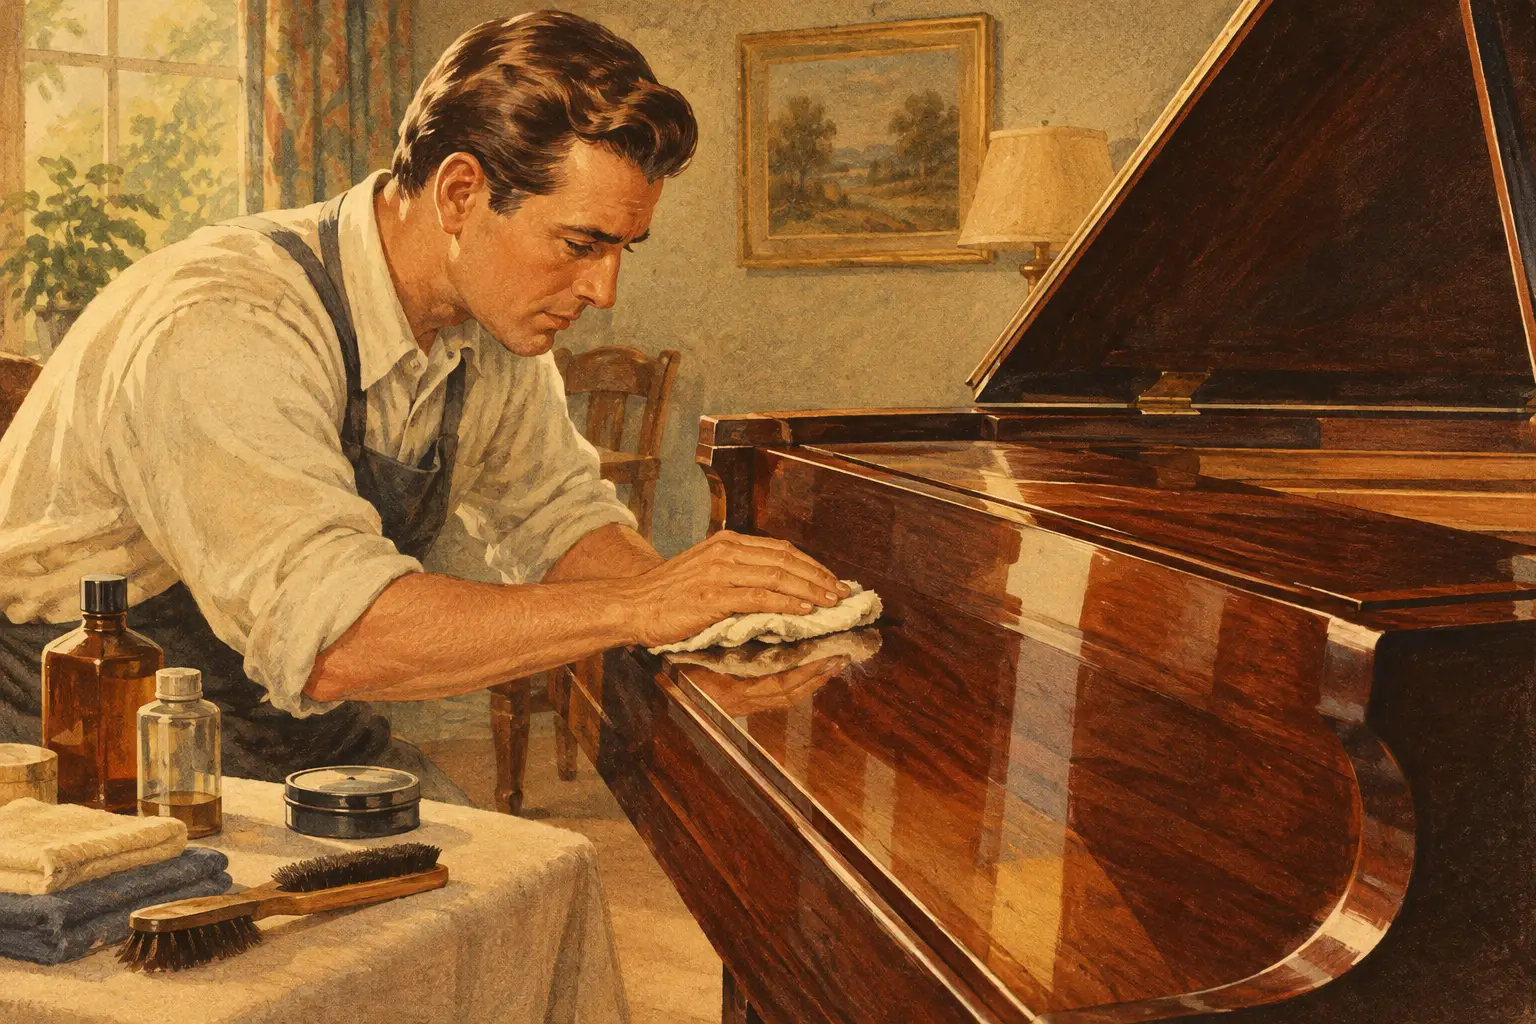
A piano’s finish does more than make a room look complete. It protects the cabinet, frames the instrument’s craftsmanship, and often signals how carefully it has been cared for over the years. Learning how to restore piano finish starts with an honest assessment: a cloudy surface, light scratches, and dry-looking polish may be correctable at home, while peeling lacquer, deep gouges, or water damage call for professional restoration.
The wrong product can turn a manageable cosmetic issue into a costly refinishing project. Premium instruments, particularly vintage Steinways, fine Yamahas, Baldwins, and heirloom family pianos, deserve a measured approach that preserves both their appearance and their value.
Start by Identifying the Piano Finish
Before cleaning or polishing, determine what is actually on the cabinet. Most modern and many later-model pianos have a lacquer, polyester, polyurethane, or high-gloss polyester finish. Older instruments may have shellac or a hand-rubbed lacquer finish. These surfaces can look similar from across a room, but they react very differently to moisture, solvents, abrasives, and heat.
A high-gloss black polyester finish is especially common on contemporary grand pianos. It is durable, but it reveals fingerprints, swirl marks, and improper wiping immediately. Older lacquer finishes can develop fine checking – a network of hairline cracks caused by age, dryness, and temperature changes. No furniture polish will repair checking, and heavy rubbing can make it more visible.
If the piano has historical value, a rare veneer, or an uncertain restoration history, pause before applying anything. A professional technician or restoration specialist can identify the finish and recommend the appropriate level of treatment. Preserving an original finish is often more desirable than making an older piano look artificially new.
How to Restore Piano Finish Safely: Clean First
Many finish problems are actually surface contamination. Fingerprints, airborne cooking residue, smoke, wax buildup, and old furniture polish can leave a cabinet dull or hazy. Begin with the least aggressive method possible.
Use a clean, soft microfiber cloth that has not been treated with silicone, fabric softener, or cleaning chemicals. Lightly dampen the cloth with clean water, then wring it out thoroughly. It should feel barely damp, never wet. Wipe a small section using straight, gentle passes, then immediately dry that area with a separate dry microfiber cloth.
Do not spray water or cleaner directly onto the piano. Liquid can enter seams, collect around lid hardware, seep beneath veneer edges, and damage the wood beneath the finish. Keep moisture well away from the keyboard, tuning pins, soundboard area, and action components.
For normal dust, dry dusting is enough. For fingerprints on a modern high-gloss surface, the lightly dampened-cloth method is usually the safest first choice. Work slowly. Rubbing harder does not make a piano cleaner – it simply increases the chance of visible micro-scratches.
Products to Keep Away From Your Piano
Household furniture products are designed for tables and cabinets, not precision musical instruments. Avoid silicone sprays, oil soaps, waxes, ammonia-based glass cleaners, alcohol, acetone, abrasive creams, and rough paper towels. These products may add temporary shine, but they can create residue, cloud certain finishes, interfere with future refinishing, or wear away the surface.
Be particularly cautious with products marketed as scratch removers. A compound that works on an automobile finish may be too aggressive for a piano cabinet. Once a high-gloss surface is unevenly abraded, restoring a uniform reflection often requires professional buffing or refinishing.
Treat Light Scratches With Restraint
Fine scratches are common on piano lids, fallboards, and bench tops. They are most noticeable when light falls across the finish at an angle. If a scratch does not catch your fingernail, it may be limited to the upper surface and may respond to professional polishing. If your nail catches in it, the damage is deeper and should not be aggressively treated with a consumer polish.
For a valuable instrument, do not use touch-up markers as a quick fix. They can darken pores unevenly, stain surrounding grain, and look noticeably different in daylight. This is particularly risky on mahogany, walnut, ebony satin, and figured veneer, where color variation is part of the cabinet’s character.
Small chips on a black satin finish may be less distracting after a carefully matched touch-up, but technique matters. The goal is not to fill every flaw with color. It is to stabilize exposed material, reduce visual contrast, and retain an even sheen. A mismatched glossy spot on a satin piano can be more noticeable than the original chip.
Know When Polishing Helps – and When It Hurts
Polishing can improve the clarity and luster of some high-gloss finishes, but it is not a universal repair. The process removes or levels an extremely thin amount of surface material. Done correctly, it can reduce fine swirls and restore a richer reflection. Done repeatedly or with the wrong compound, it can leave uneven gloss, burn through edges, or reveal defects beneath the finish.
Professional polishing is most appropriate when the finish is structurally sound but lightly scratched, hazy, or dulled by years of improper cleaning. It is not a cure for checking, deep dents, peeling finish, missing veneer, sun fading, or moisture damage.
Satin finishes require even more caution. Their soft, low-sheen appearance comes from a controlled texture. Polishing one spot can create a shiny patch that is difficult to blend. For satin ebony and open-pore wood finishes, cleaning and targeted professional touch-up are generally safer than trying to polish away wear.
Address Water Marks, Sun Fading, and Veneer Damage Professionally
White rings, cloudy patches, rippled veneer, and finish blushing often point to moisture exposure. A drink placed on the piano, a humidifier positioned too closely, or a move through wet weather can cause damage that reaches beyond the surface. Heat-based internet remedies are not appropriate for a piano. Applying an iron, hair dryer, or aggressive solvent near veneer can loosen glue, crack lacquer, or cause a larger repair area.
Sun damage is another common issue, especially near large windows. Ultraviolet light can fade wood tones and alter lacquer over time. Moving the piano away from direct sunlight or using appropriate window coverings helps prevent further change, but existing uneven fading may require refinishing to correct properly.
Lifted veneer, deep dents, and missing finish should be evaluated by a piano restoration professional. Cabinet work is both cosmetic and technical. The restorer must match wood species, grain direction, stain color, pore fill, sheen, and surrounding age. On a distinguished grand or vintage upright, that level of work protects the piano’s presentation as well as its market appeal.
Protect the Restored Finish
Once the cabinet is clean and stable, prevention is far easier than repair. Maintain a consistent room environment whenever possible. Extreme swings in temperature and humidity stress wood, glue joints, and finishes, while direct sun and HVAC vents can accelerate drying and fading.
Keep drinks, plants, candles, and decorative objects off the piano lid. Even felt pads can trap grit or moisture if they are not kept clean. Close the fallboard when the piano is not being played, especially in homes with children or pets, but avoid placing heavy items on it. A soft microfiber cloth used regularly is usually all that is needed for day-to-day care.
During a move, the cabinet deserves the same protection as the instrument’s internal mechanism. Piano moving requires proper wrapping, secure handling, and climate-aware transport. Scuffs and corner damage often happen when a piano is treated like ordinary furniture rather than a substantial, finely finished instrument.
Choose Restoration That Fits the Piano
There is a meaningful difference between cleaning, touch-up, polishing, partial refinishing, and complete cabinet restoration. The right choice depends on the piano’s age, finish type, overall condition, intended use, and value. A family upright with moderate wear may benefit from careful touch-up and cleaning. A collectible grand with an original finish may warrant conservation rather than a full cosmetic reset. A heavily damaged piano being prepared for a premium home may justify a complete refinishing program.
The most successful result is not always the shiniest one. It is the finish that looks appropriate to the instrument, holds up under normal use, and supports the piano’s long-term value. For owners considering significant cabinet work, A440 Pianos can help assess whether targeted repair or professional restoration is the better investment for the instrument in front of you.
A beautiful piano finish should invite playing, not constant worry. Clean gently, avoid shortcuts, and let the condition of the cabinet determine how far the restoration should go.

0 Comments